
First, you'll need to assemble your items.
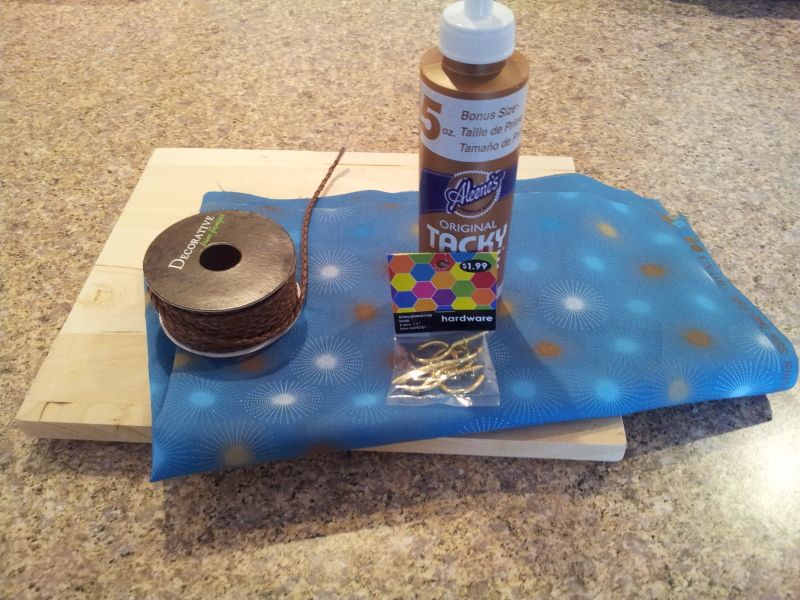
- A board...it doesn't have to be pretty, we're covering it up.
- Glue (I used Tacky Glue because it's strong and it's what I had)
- Fabric (I purchased 1/3 yard for $1.64 at Hobby Lobby, it was 30% off)
- Hooks (I also bought these at Hobby Lobby, they were $1.99)
- Ribbon (if you so choose)
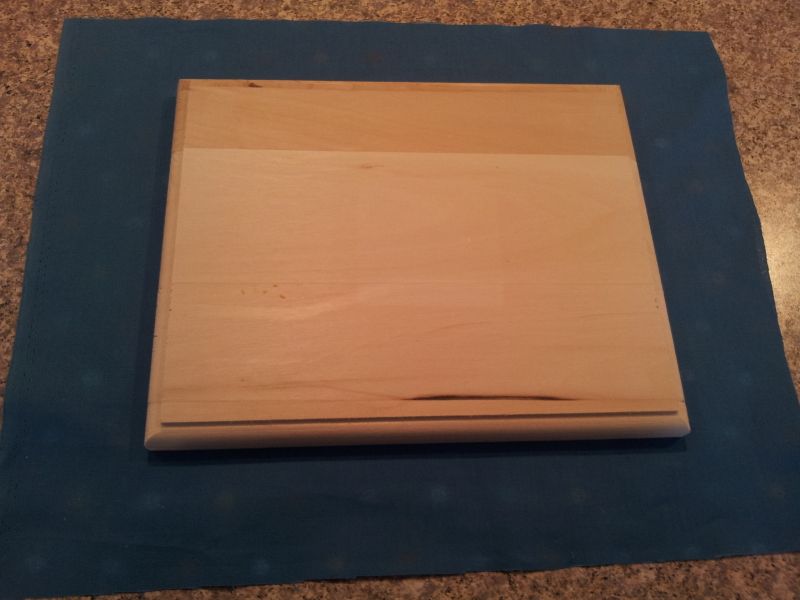
Next, cut the fabric to fit, like so:
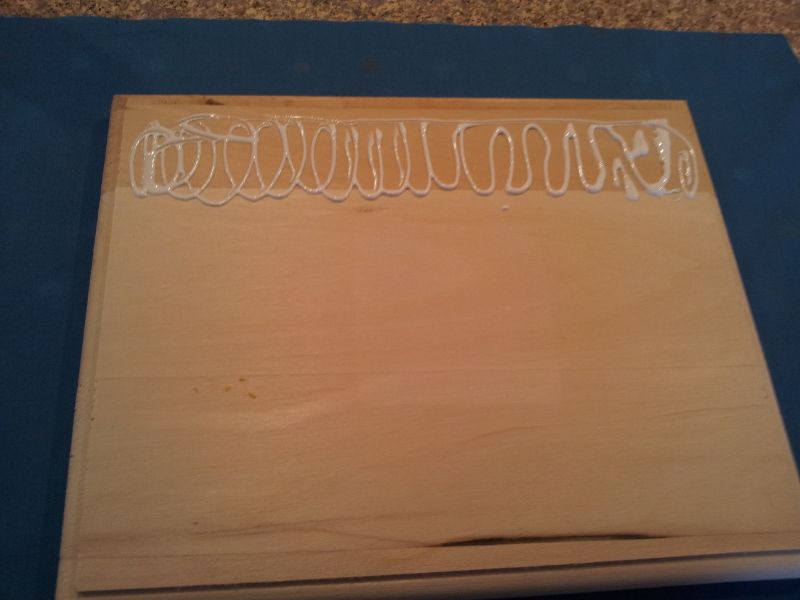
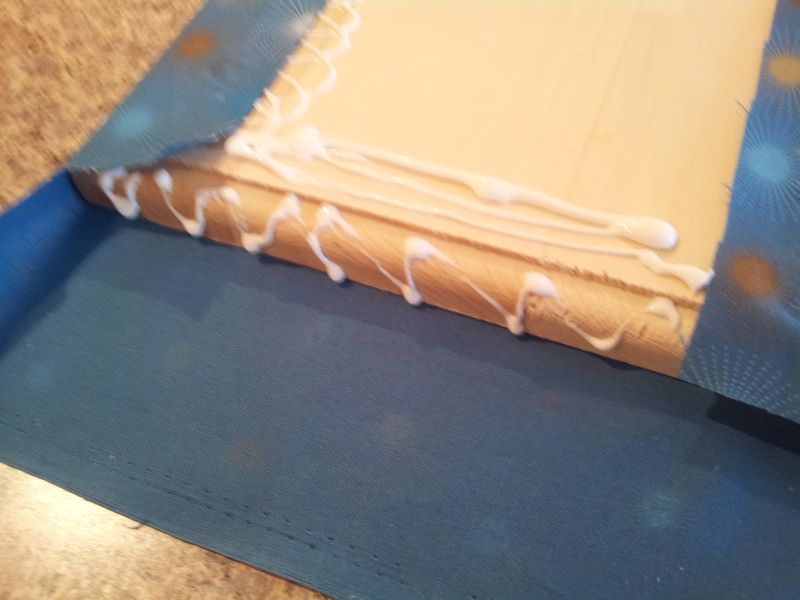
Then get to glue-ing. Think.....wrapping a present. Pause for gratuitous use of glue right here! Oops.
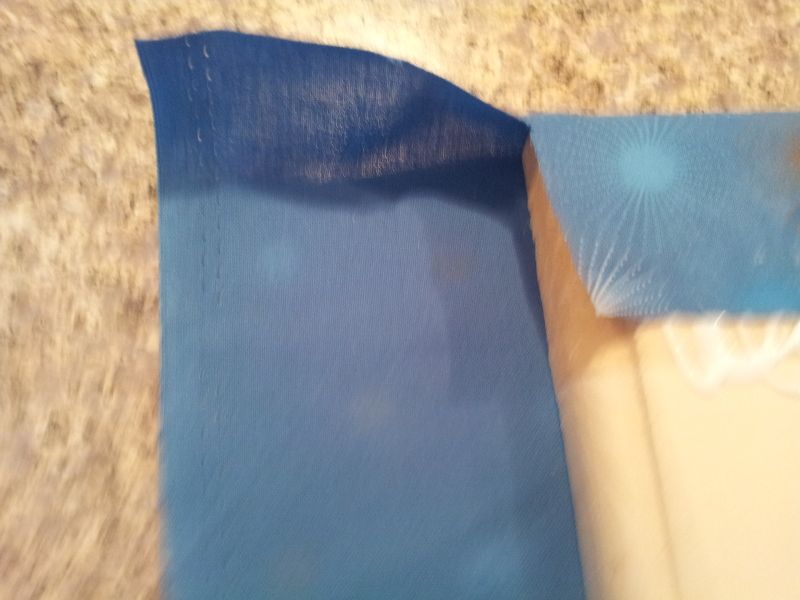
I cut a little off the edges because I wanted a really tight fit, then I tucked it under and glued the sides so the fabric had something to stick to.
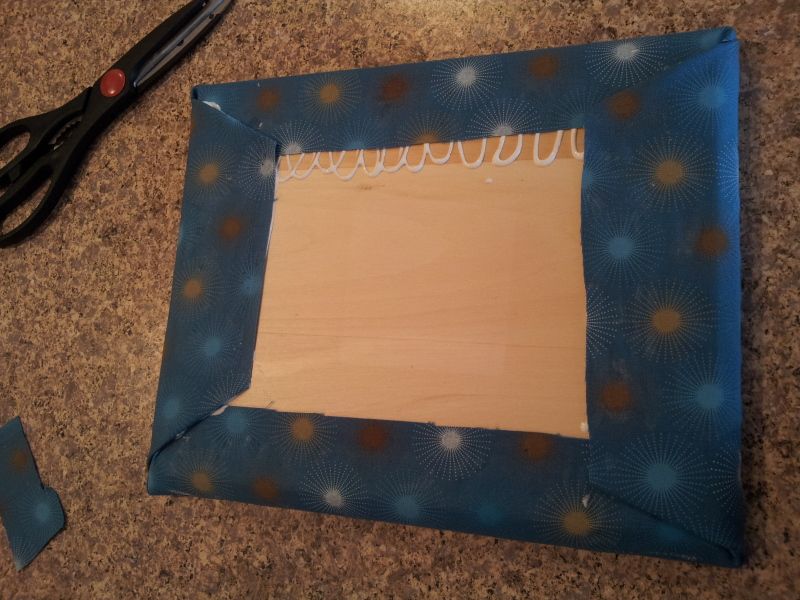
Step One Complete!
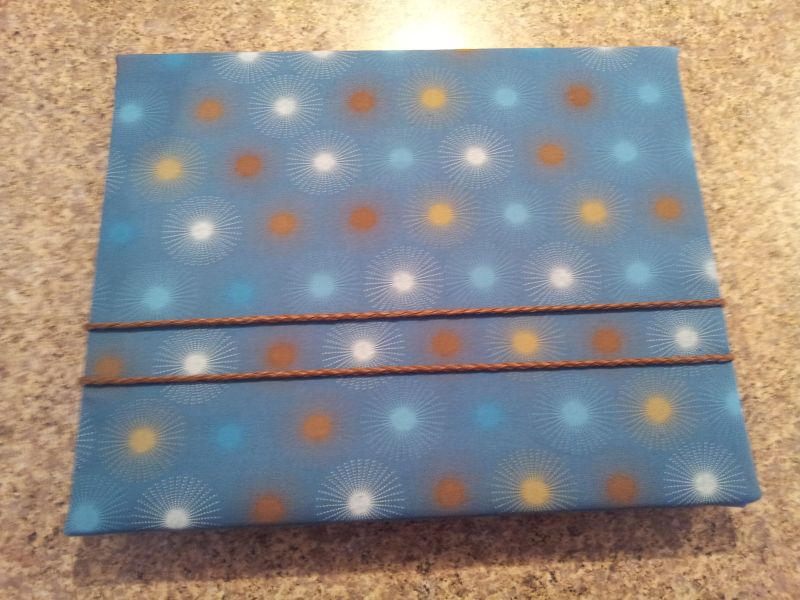
Then I let the glue dry. I gave it a little help by putting something heavy on it. I let mine dry for about an hour because I had an errand to run. It's dry when the glue is clear.
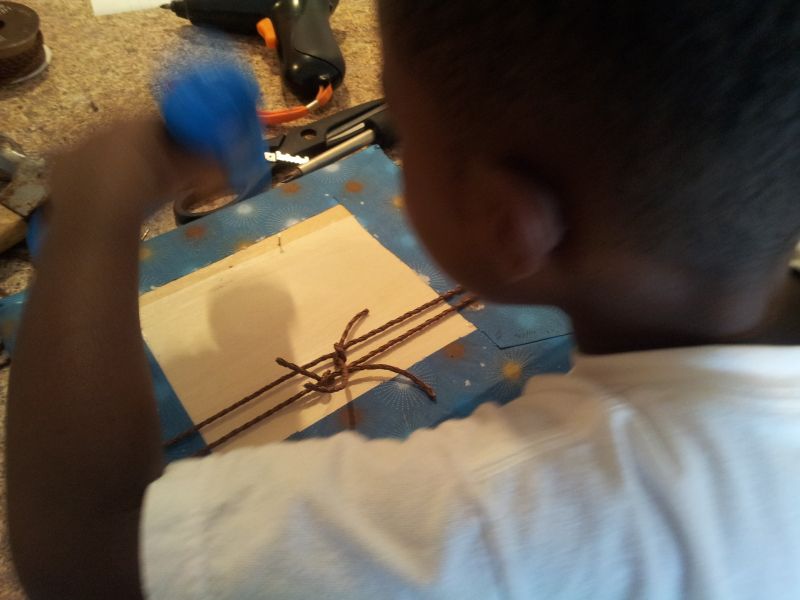
Next you'll need to adhere your ribbon. Since my ribbon was rope-like, I ultimately ended up just tying it in a knot, which (surprisingly) worked great.
Next....you need to attach the screws. This was HARD because the wood I bought wasn't some cheap plywood type, it was the wood that plaques are made from. So, I came up with this trick and you are SO WELCOME. I just screwed in a real screw the size of the hooks, then screwed in the hooks. Simple! GENIUS.
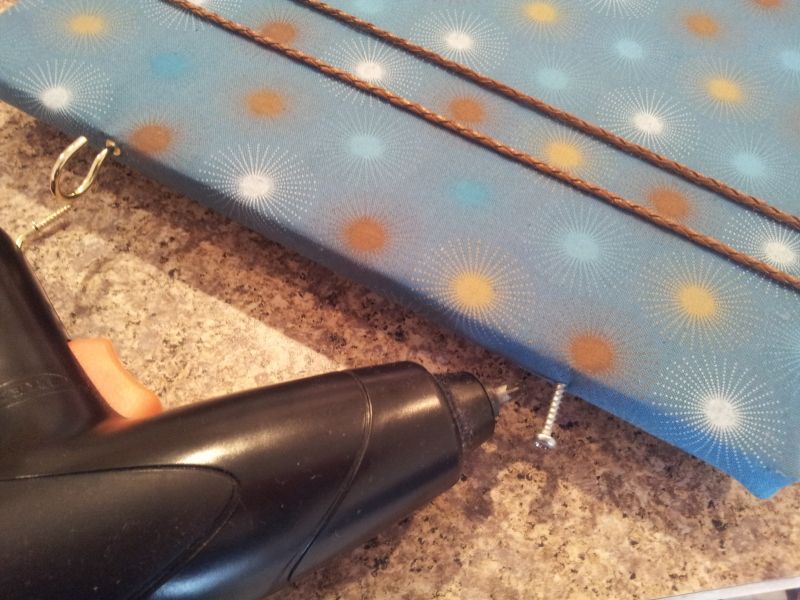
Next, I attached a hook to hang it by (from my rarely used picture hanging kit).
Jordan wanted to help.
And that's it! Hope you enjoyed this one, it was very easy!

No comments:
Post a Comment