Showing posts with label DIY. Show all posts

Friday, July 20, 2012

The Coast(er) is Clear!

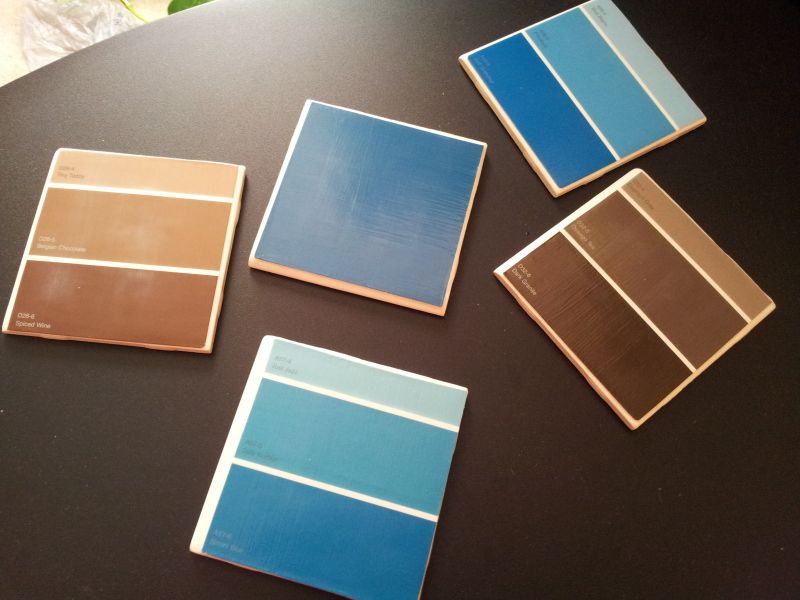
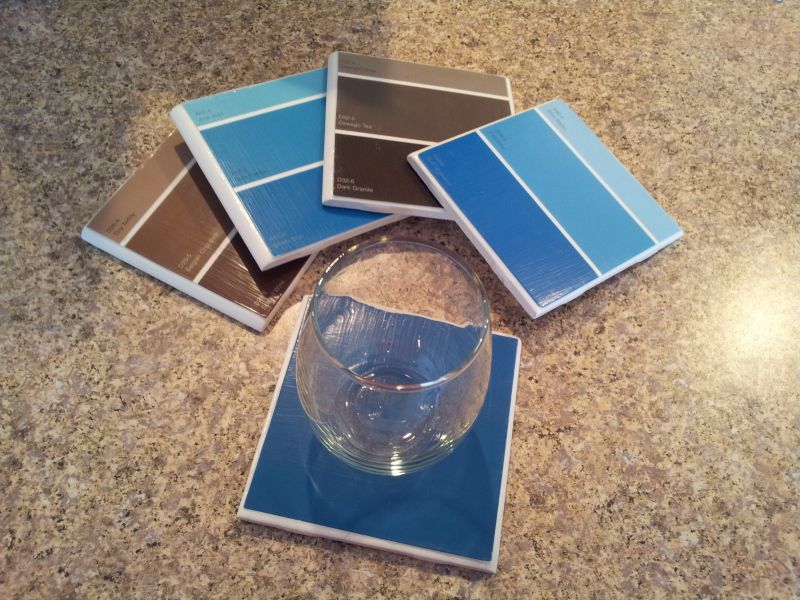
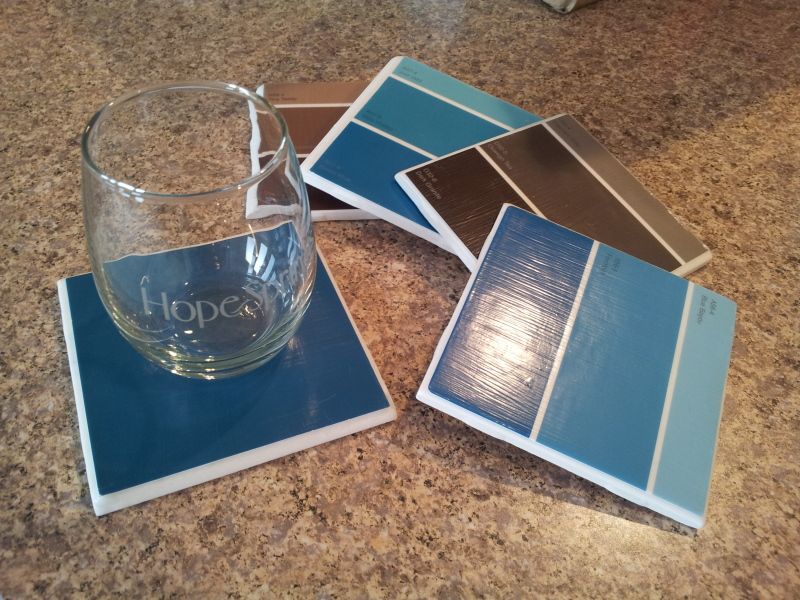
Today's project...make your own coasters from free paint samples!  It was inspired by this pin.  It was very easy.


So you'll need the following
  • Clear Acrylic Gloss Coating
  • Mod Podge (I had matte, but I'd suggest buying the glossy kind)
  • Tiles (I bought mine at Lowe's for .77/piece)
  • Paint Sample Cards (Free at Lowe's..the ones at Walmart are only about half as wide).

I chose the paint samples with the words on them, but then I found some that were just solid colors as well.
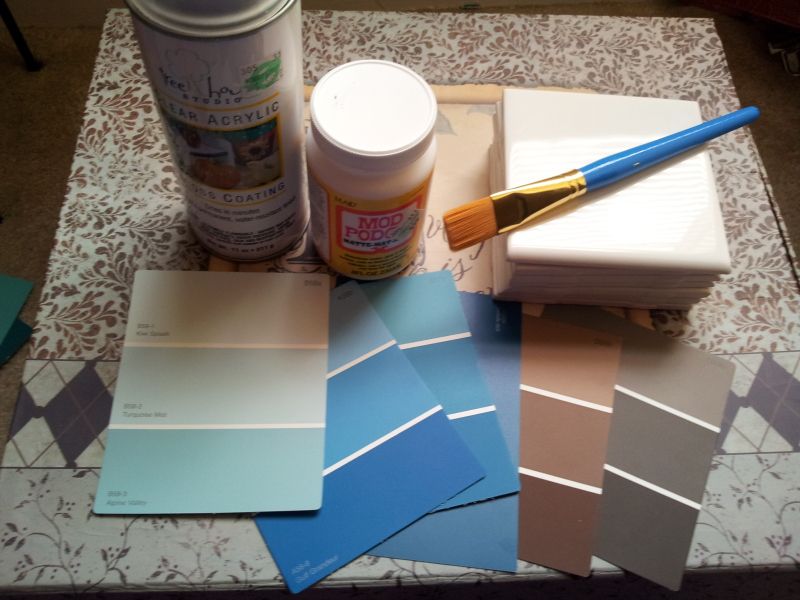

First, I trimmed a little off the right side of the cards, because it was curved and I didn't want to fight with gluing them down.  Then I cut a little off the top until it fit on the card correctly, then glued it down with the mod podge.
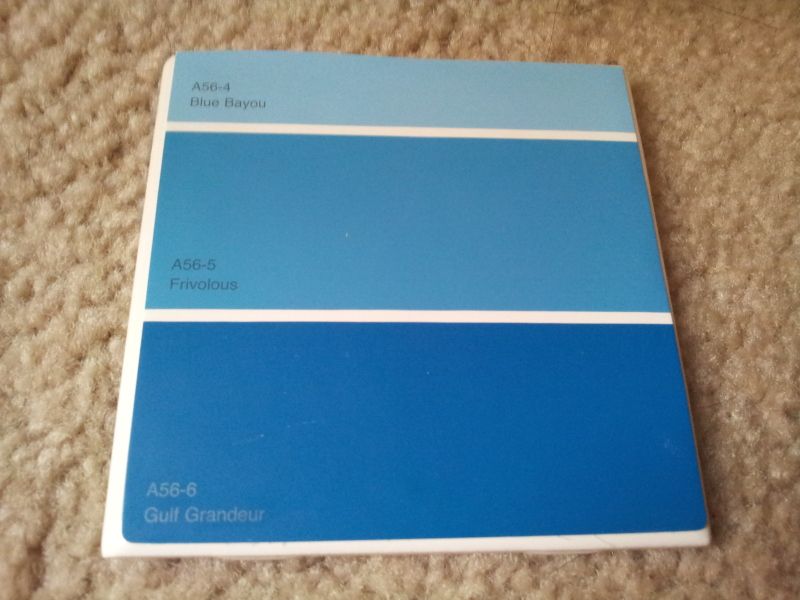


After I glued it down, I put something heavy on top (thanks for the jewelry box dad) and left it there for about thirty minutes.

Then, just paint the glue over it.  I did about five really thin coats.  When you paint it, it'll look thick and glue-like.
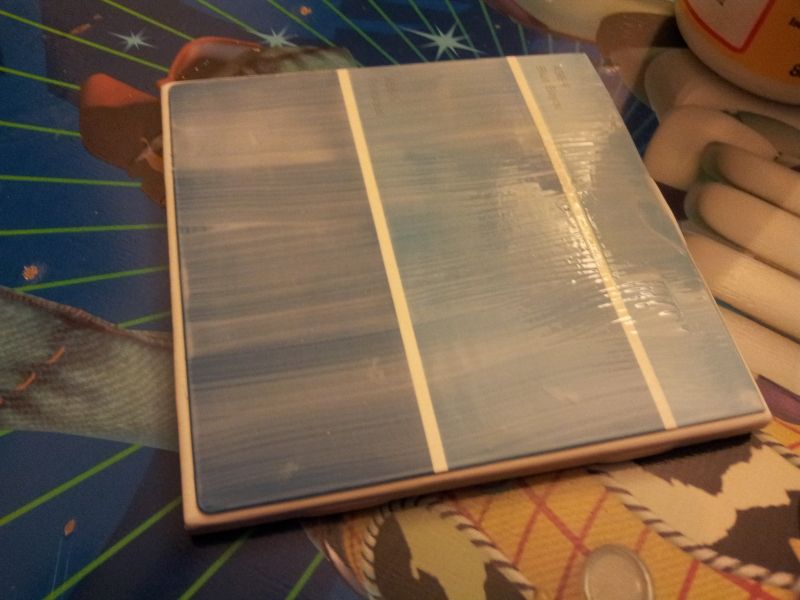
Cameo from Jordan's toddler table, lolz


Once they dry completely


spray the acrylic gloss coating and let that dry completely as well.  

That's it!


Wednesday, July 18, 2012

I'm Hooked

So today we have to do a "craft type project."  I chose to do this pin, and when I clicked on it for how-to instructions, the pin was gone!  Don'tcha hate that?  So I'm posting this blog so it'll never happen to one of you pinners ever again!


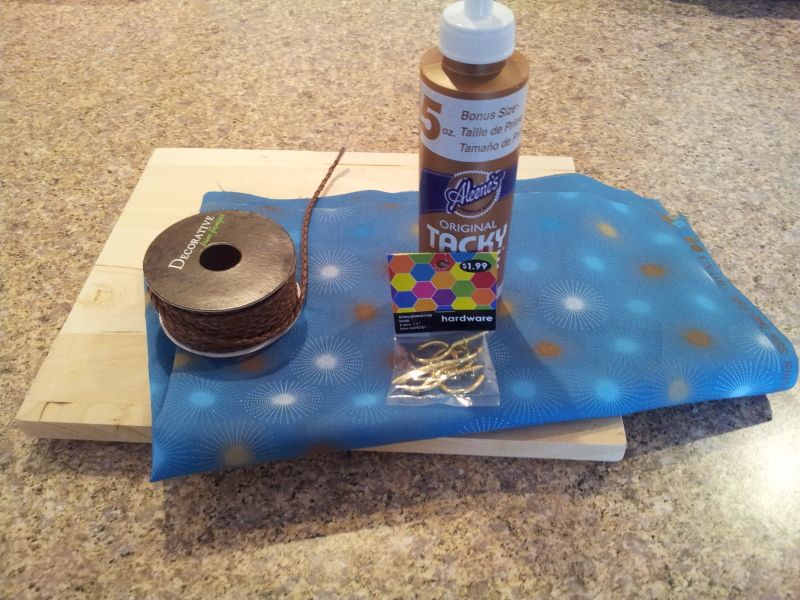
First, you'll need to assemble your items.


  • A board...it doesn't have to be pretty, we're covering it up.
  • Glue (I used Tacky Glue because it's strong and it's what I had)
  • Fabric (I purchased 1/3 yard for $1.64 at Hobby Lobby, it was 30% off)
  • Hooks (I also bought these at Hobby Lobby, they were $1.99)
  • Ribbon (if you so choose)

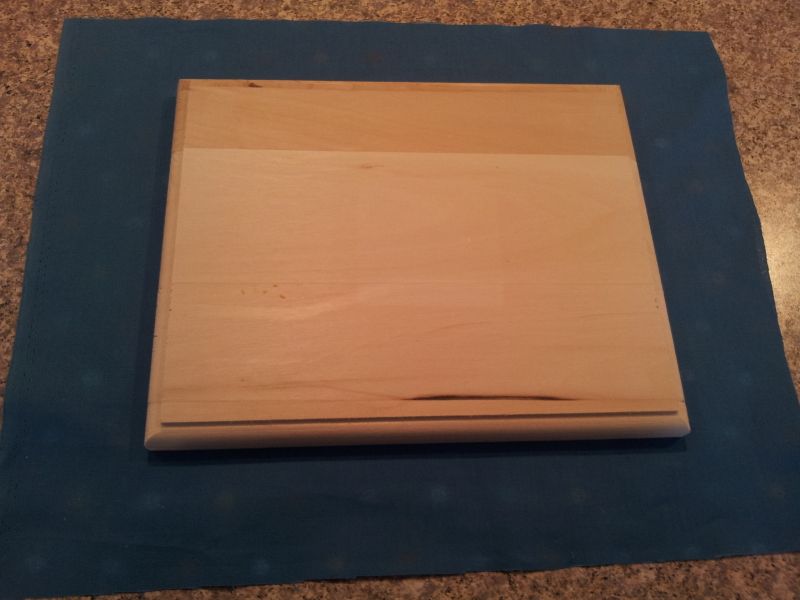
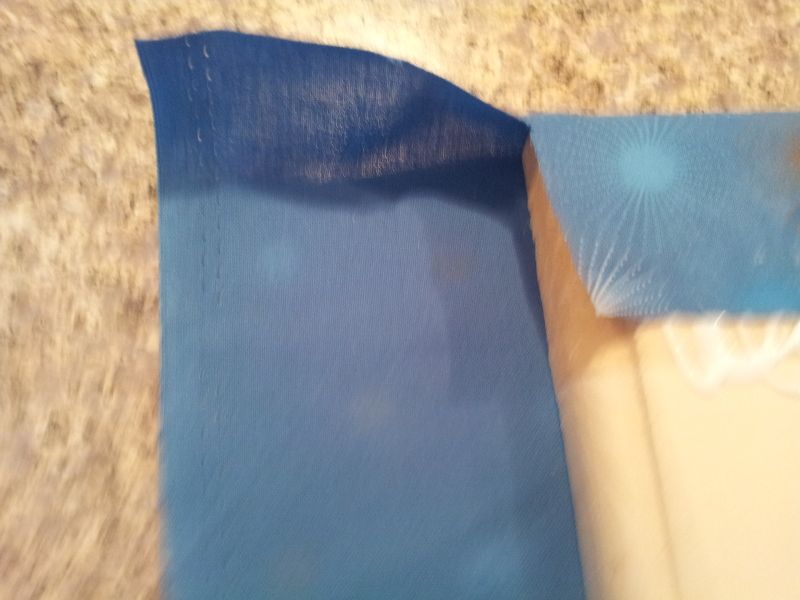
Next, cut the fabric to fit, like so:


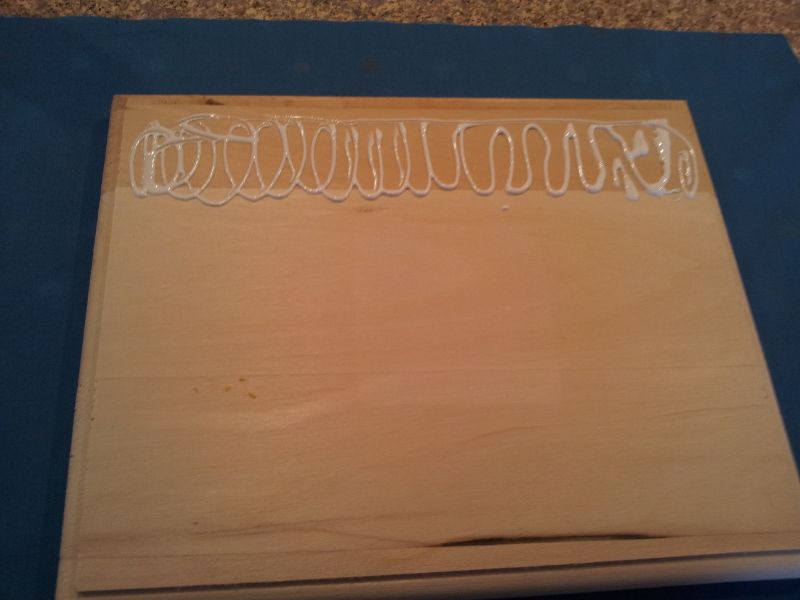
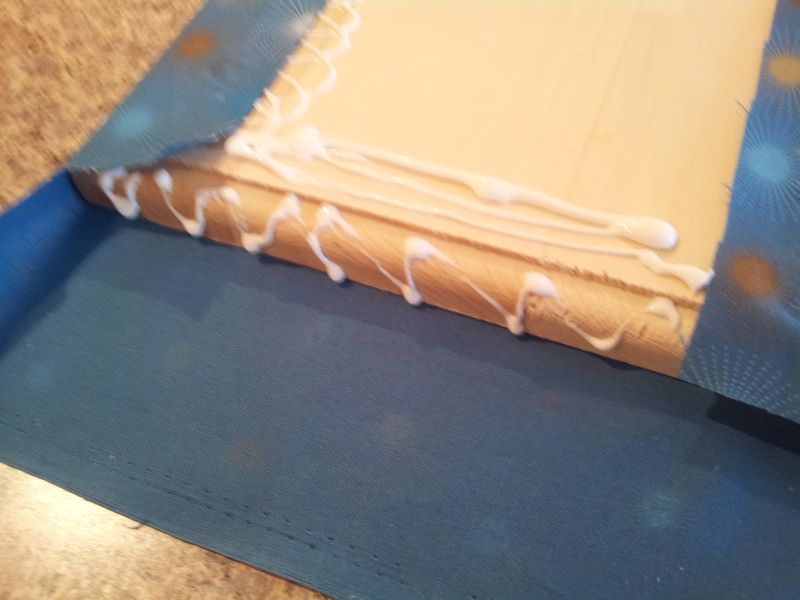
Then get to glue-ing.  Think.....wrapping a present.  Pause for gratuitous use of glue right here!  Oops.


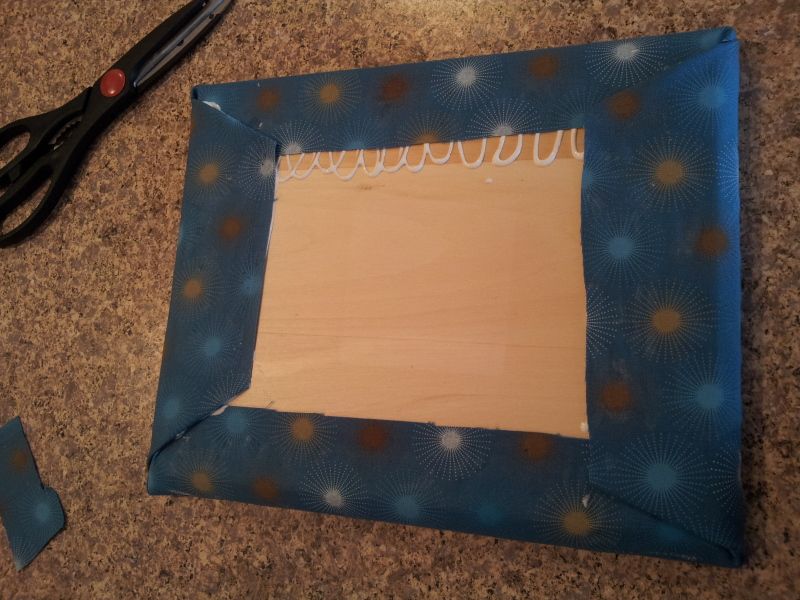
I cut a little off the edges because I wanted a really tight fit, then I tucked it under and glued the sides so the fabric had something to stick to.


Step One Complete!


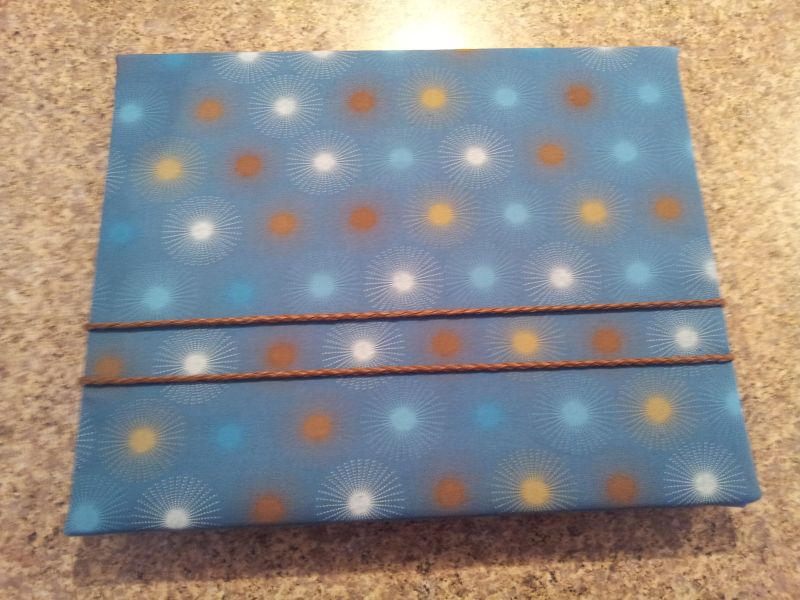
Then I let the glue dry.  I gave it a little help by putting something heavy on it.  I let mine dry for about an hour because I had an errand to run.  It's dry when the glue is clear.

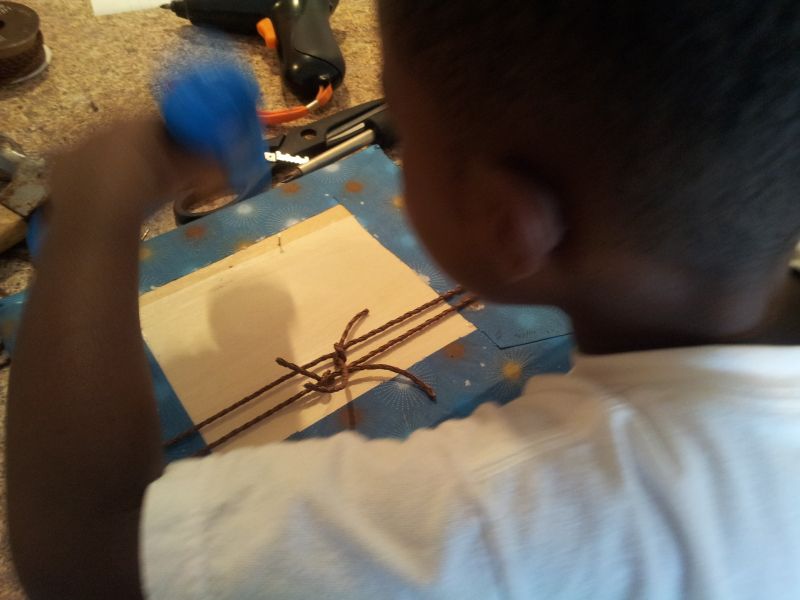
Next you'll need to adhere your ribbon.  Since my ribbon was rope-like, I ultimately ended up just tying it in a knot, which (surprisingly) worked great. 


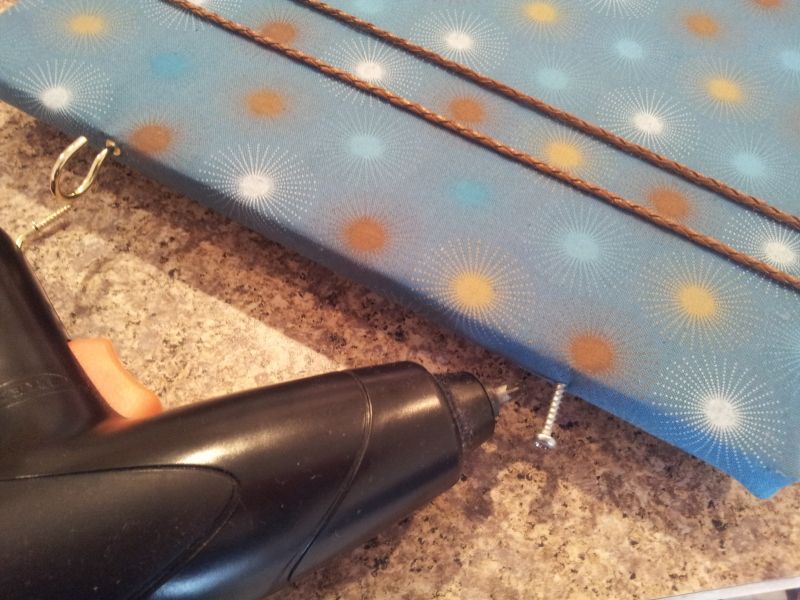
Next....you need to attach the screws.  This was HARD because the wood I bought wasn't some cheap plywood type, it was the wood that plaques are made from.  So, I came up with this trick and you are SO WELCOME.  I just screwed in a real screw the size of the hooks, then screwed in the hooks.  Simple!  GENIUS.


Next, I attached a hook to hang it by (from my rarely used picture hanging kit). 
Jordan wanted to help.


And that's it!  Hope you enjoyed this one, it was very easy!